Do you want to convert a van yourself, but don’t know where to start? Part 1
Worry not! We have just been through exactly the same thing. If you have been following us on Instagram then you’ll know we have recently purchased a new van! After many years with our beloved VWT5, we have purchased a Volkswagen Crafter MWB with 44,000 miles on the clock -ready for the next chapter in our vanlife journey. Dan has always wanted to convert a van from scratch and now is the right time for us. However, that doesn’t necessarily mean we know what we are doing! Whilst we still absolutely love our T5, eventually the Crafter will become our home-on-wheels and hopefully my daily drive. (I say ‘hopefully’, because at the moment it seems so huge and the prospect of driving it on the school run is a little daunting. However, I also remember feeling the same when we sold my car and the T5 became my daily drive, so hopefully I will adjust and it will all be fine.)
In this series of blog posts, we will be documenting our conversion progress and include all the details, suppliers etc that we’ve used, in the hope it will help you know where to start with your own conversion. This won’t be another ‘How to Guide’ because there are already so many brilliant ones of those online. Instead this blog post will draw together all the good sources of information we used and found, plus document the first few weeks of our conversion including research, insulating and adding the windows.
You can read more about what to look for when buying a campervan for the first time here, but we have had our van for about a month now. The first thing Dan did when we purchased it was join some van specific conversion groups on Facebook to ask and answer questions from those who already have some experience. These are the groups Dan joined, but there may be other ones more useful for you depending on the van you’ve chosen to convert. Please remember these groups are often not run by professional conversion companies and answers / advice will likely to be based on their own experience. Whilst listening to and finding out about what other people have done and would do is useful, sometimes too many options is confusing. Ultimately we have already learnt that in the end, you need to trust in your research and own expertise and just go for it.
Crafter/lt & sprinter self build camper owners group
It didn’t take Dan long to get started on the van. Within a few hours he’d removed the bulk head and wood cladding, plus ordered the materials he needed to soundproof and insulate the van. I will include details of the suppliers we used and what we bought, but please remember prices are likely to vary, so shop around to ensure you get the best value.
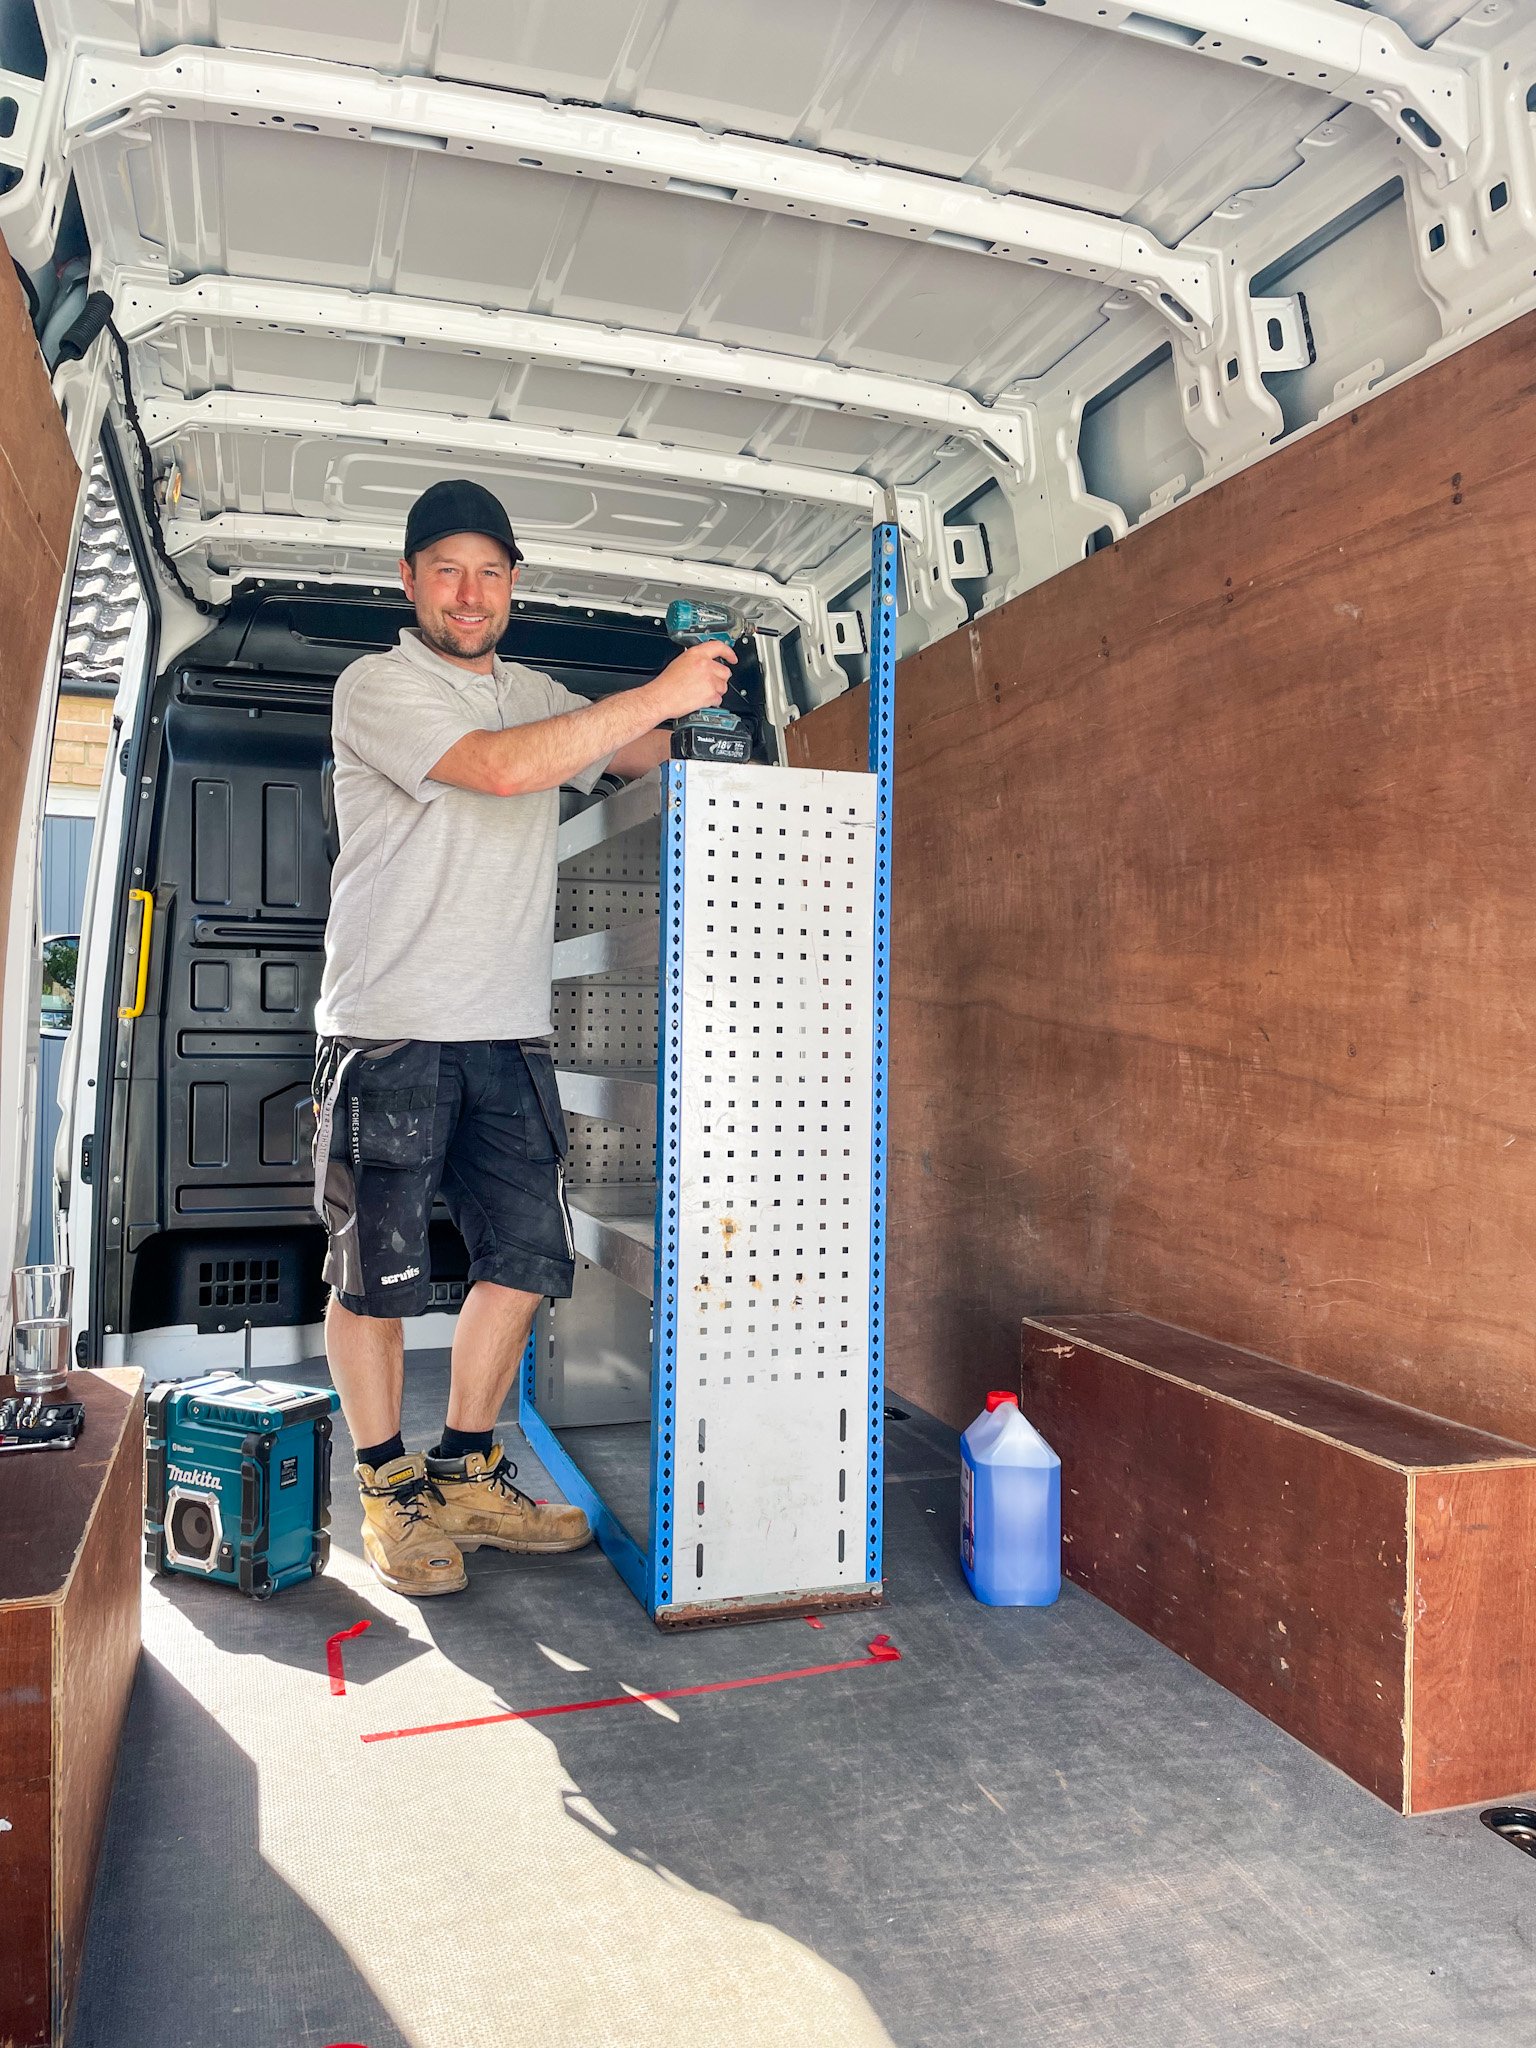
We used Dodo Hex matting to sound and vibration proof the walls and ceiling of the van. Purchasing x1 pack of x30 sheets and x1 pack of x50 sheets, you simply cut, peel and stick on any interior metal to reduce unwanted vibrations and noise. This part was so easy, it felt like we were basically sticking money to the walls!! Other materials used to insulate were:
Insulation - I was very impressed to learn that this insulation is made from recycled plastic bottles.
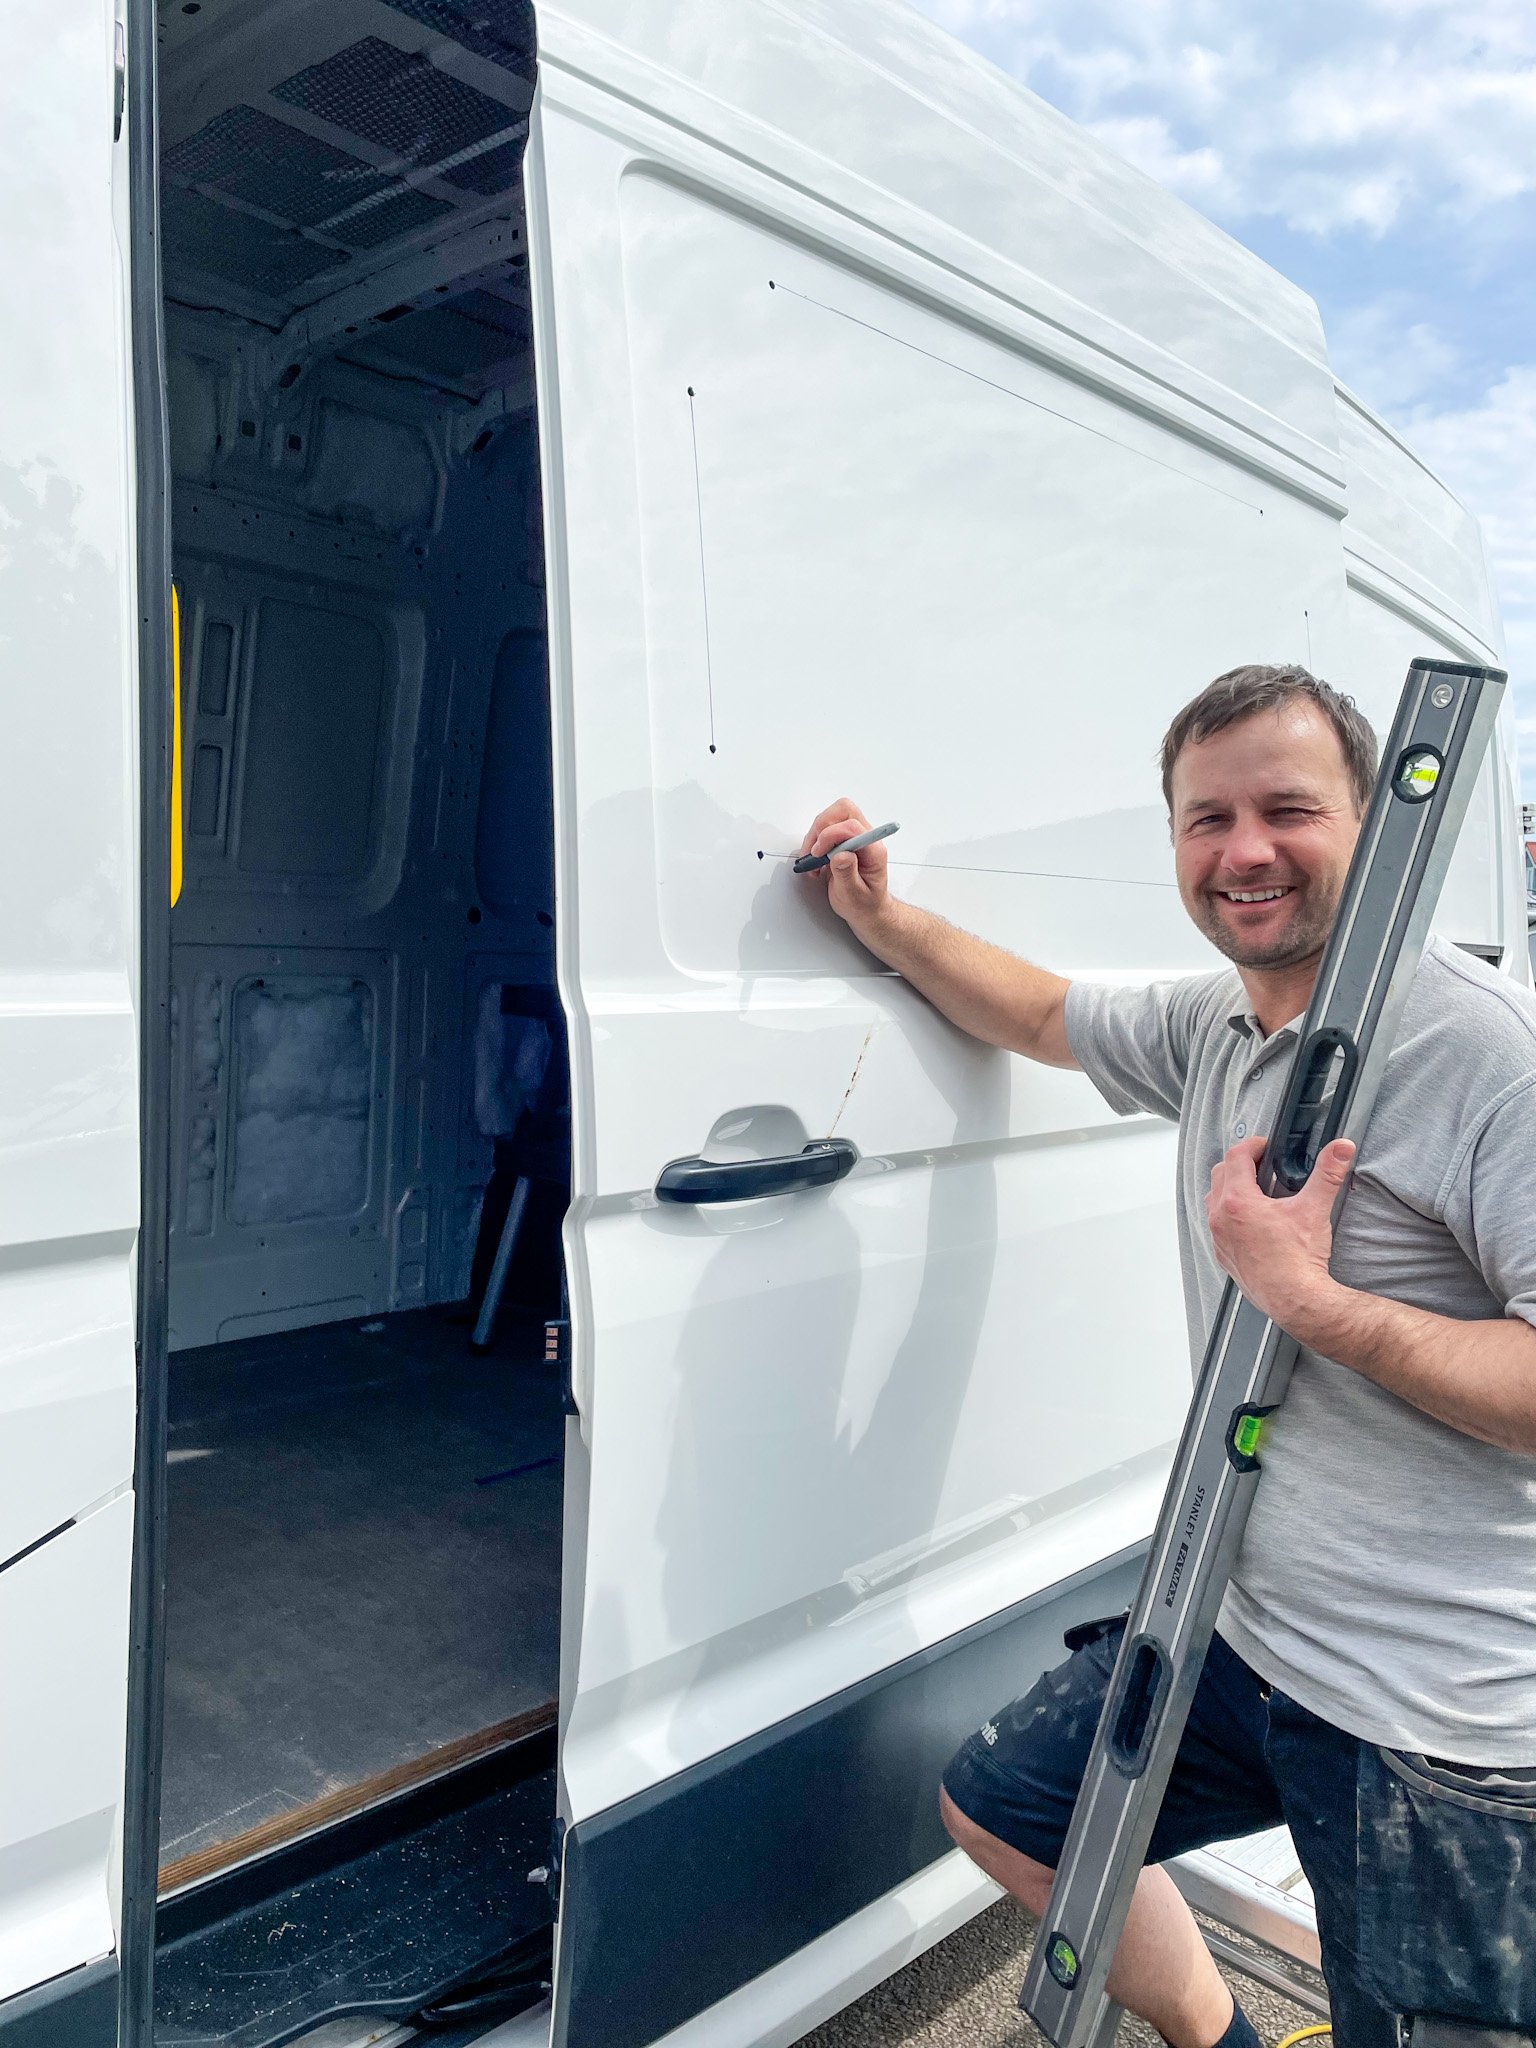
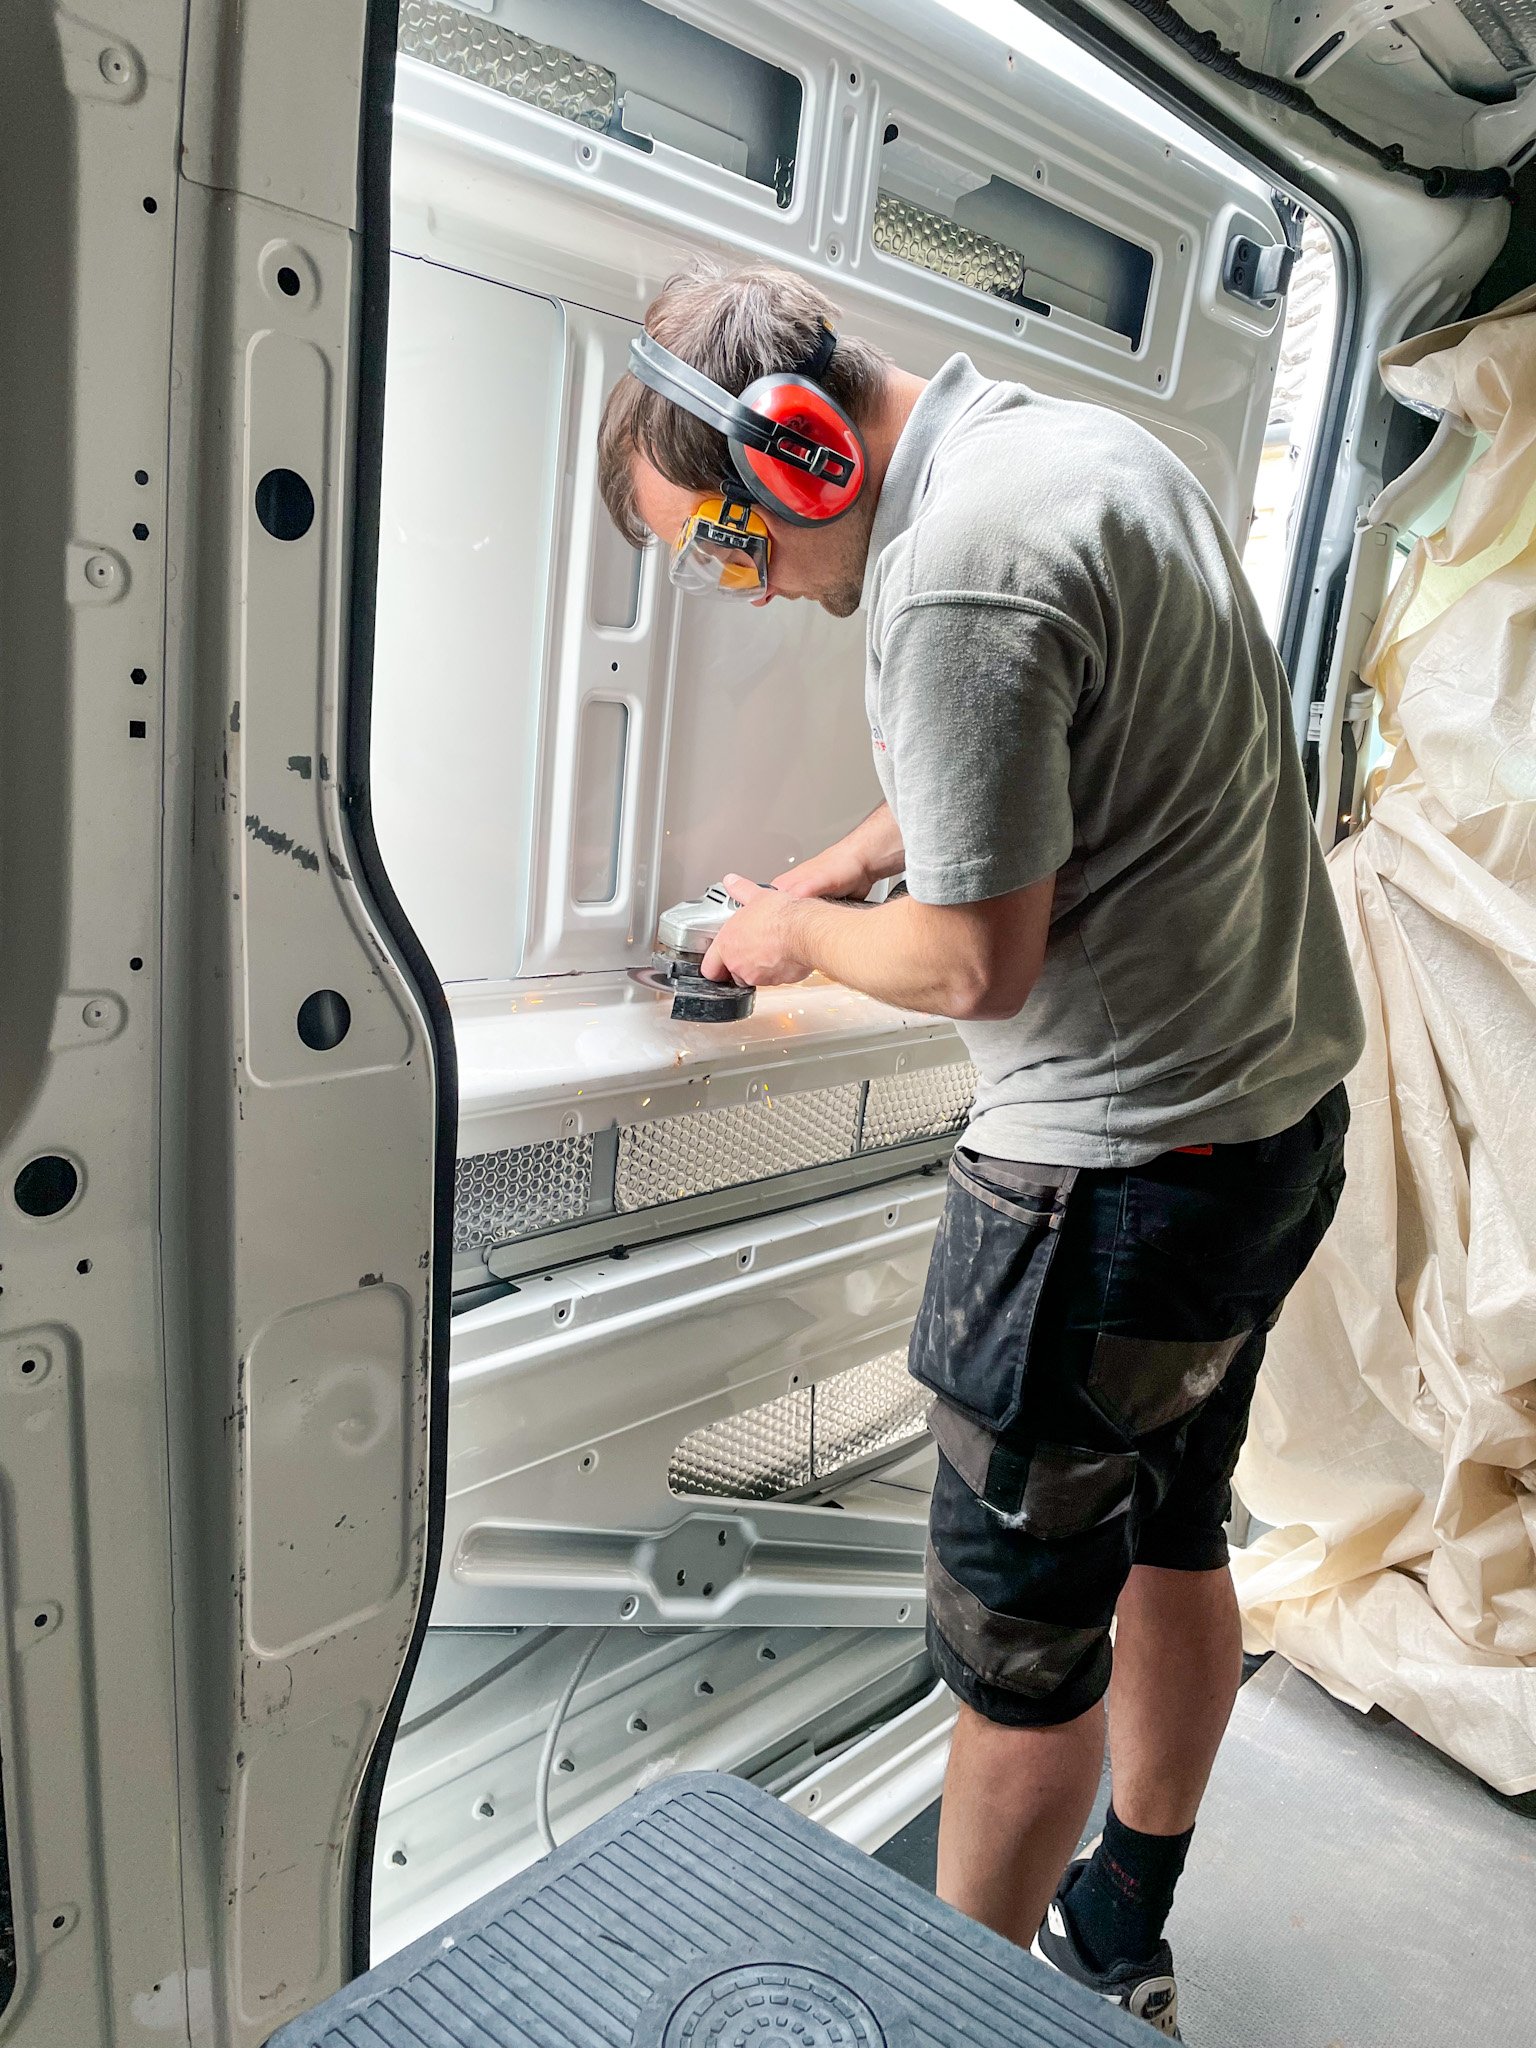
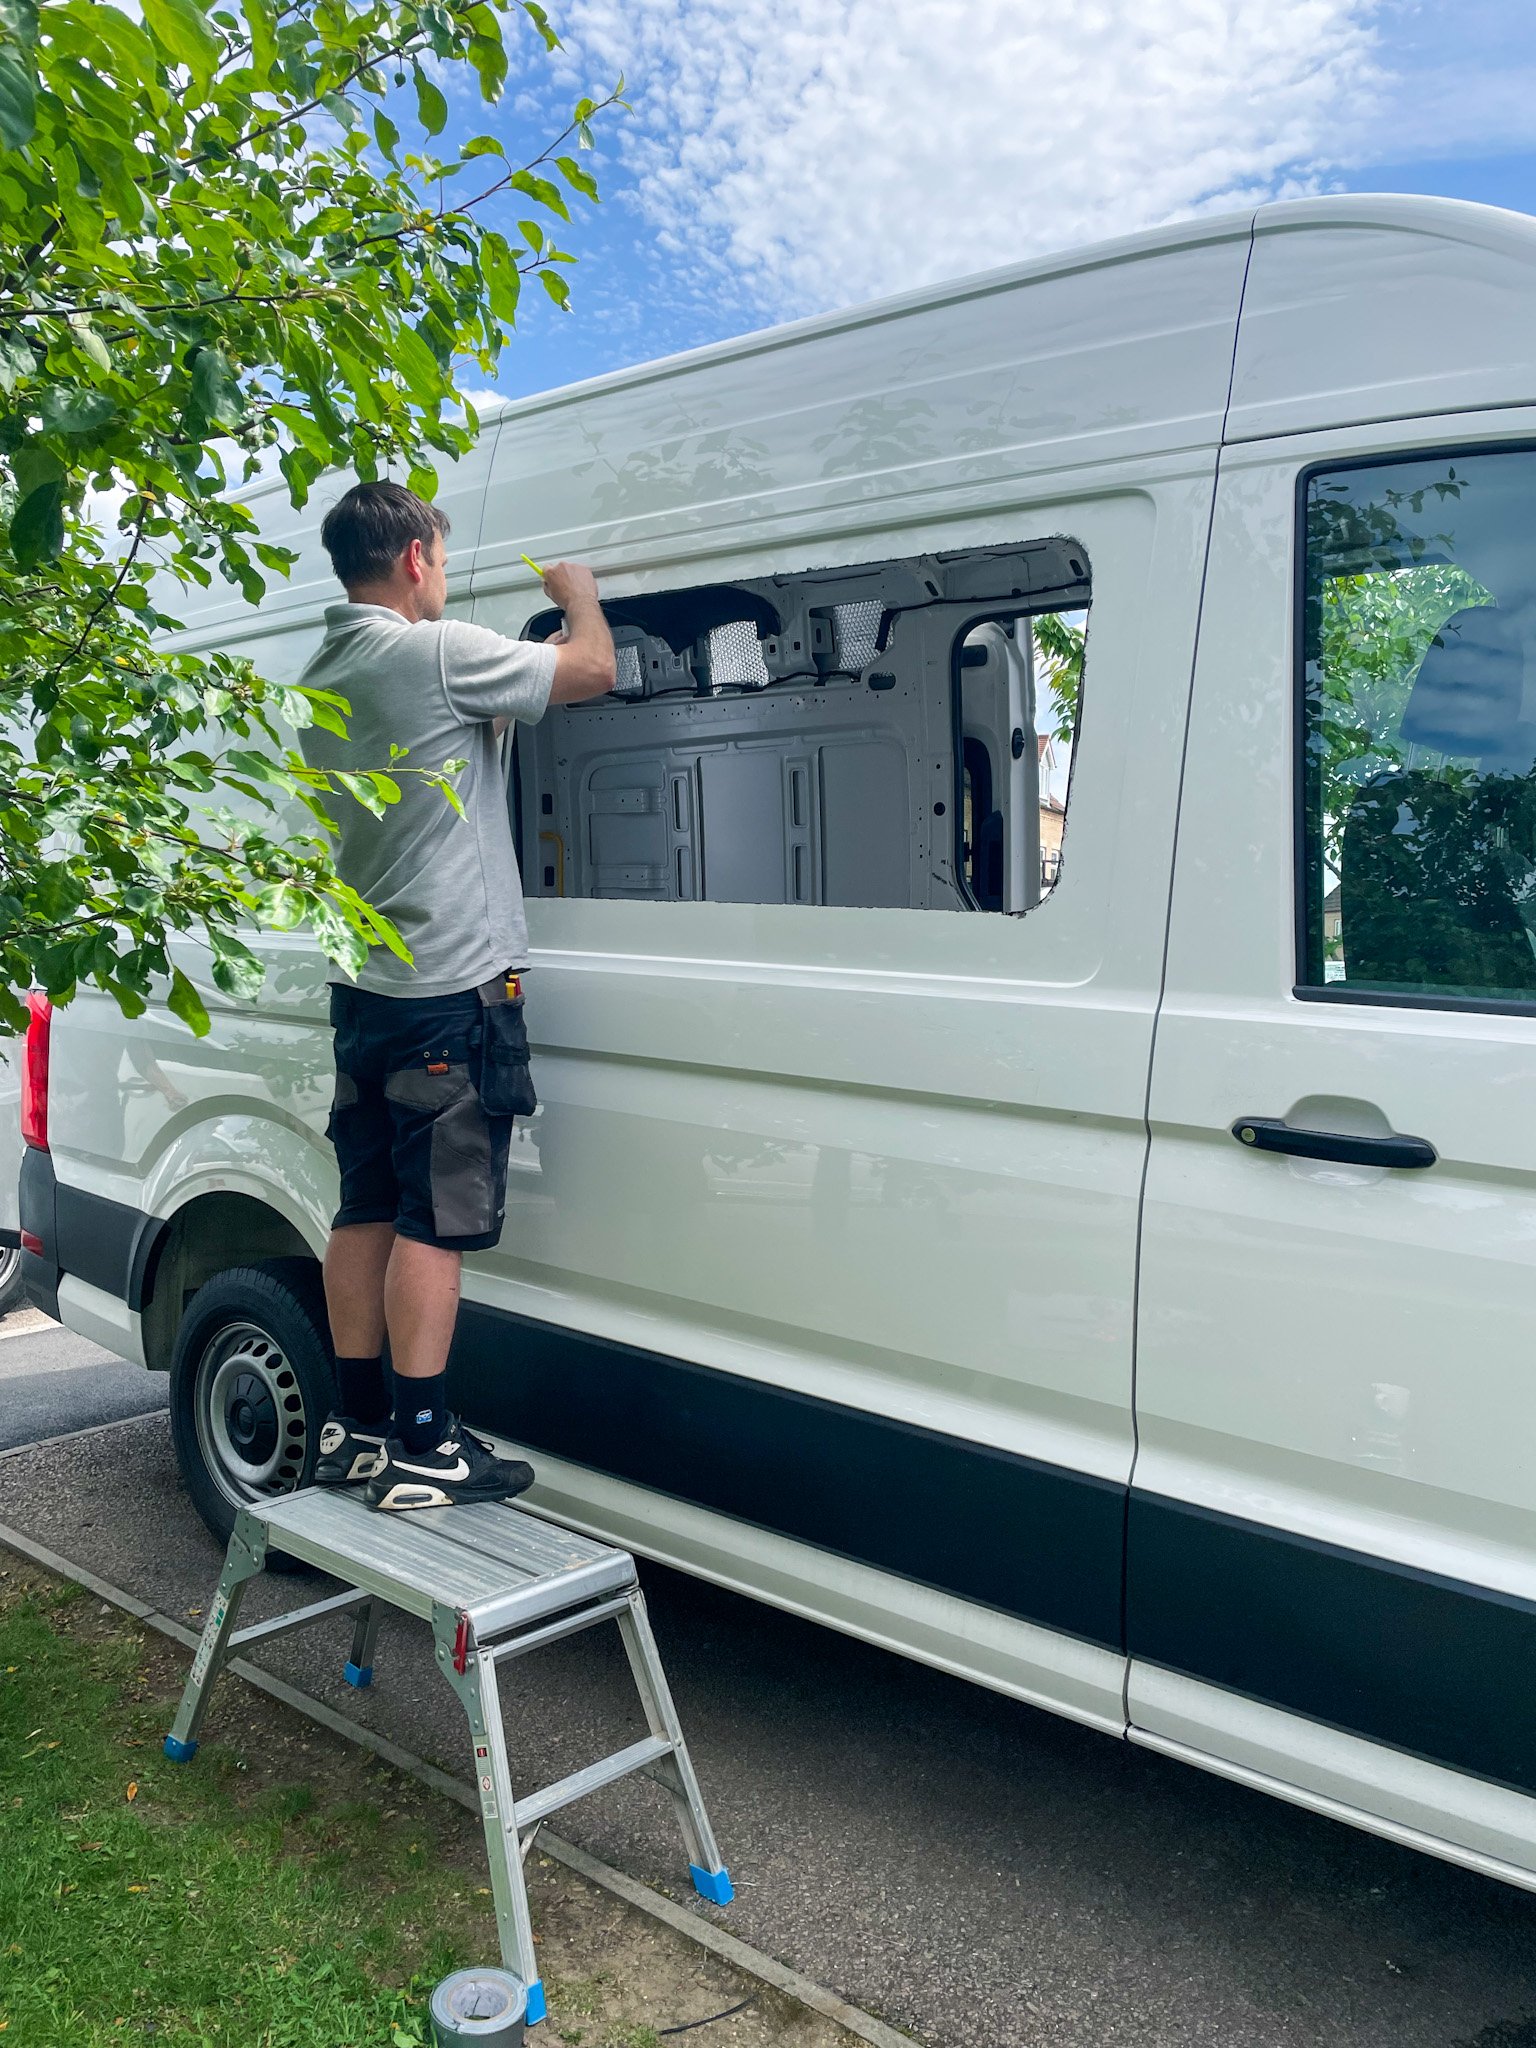
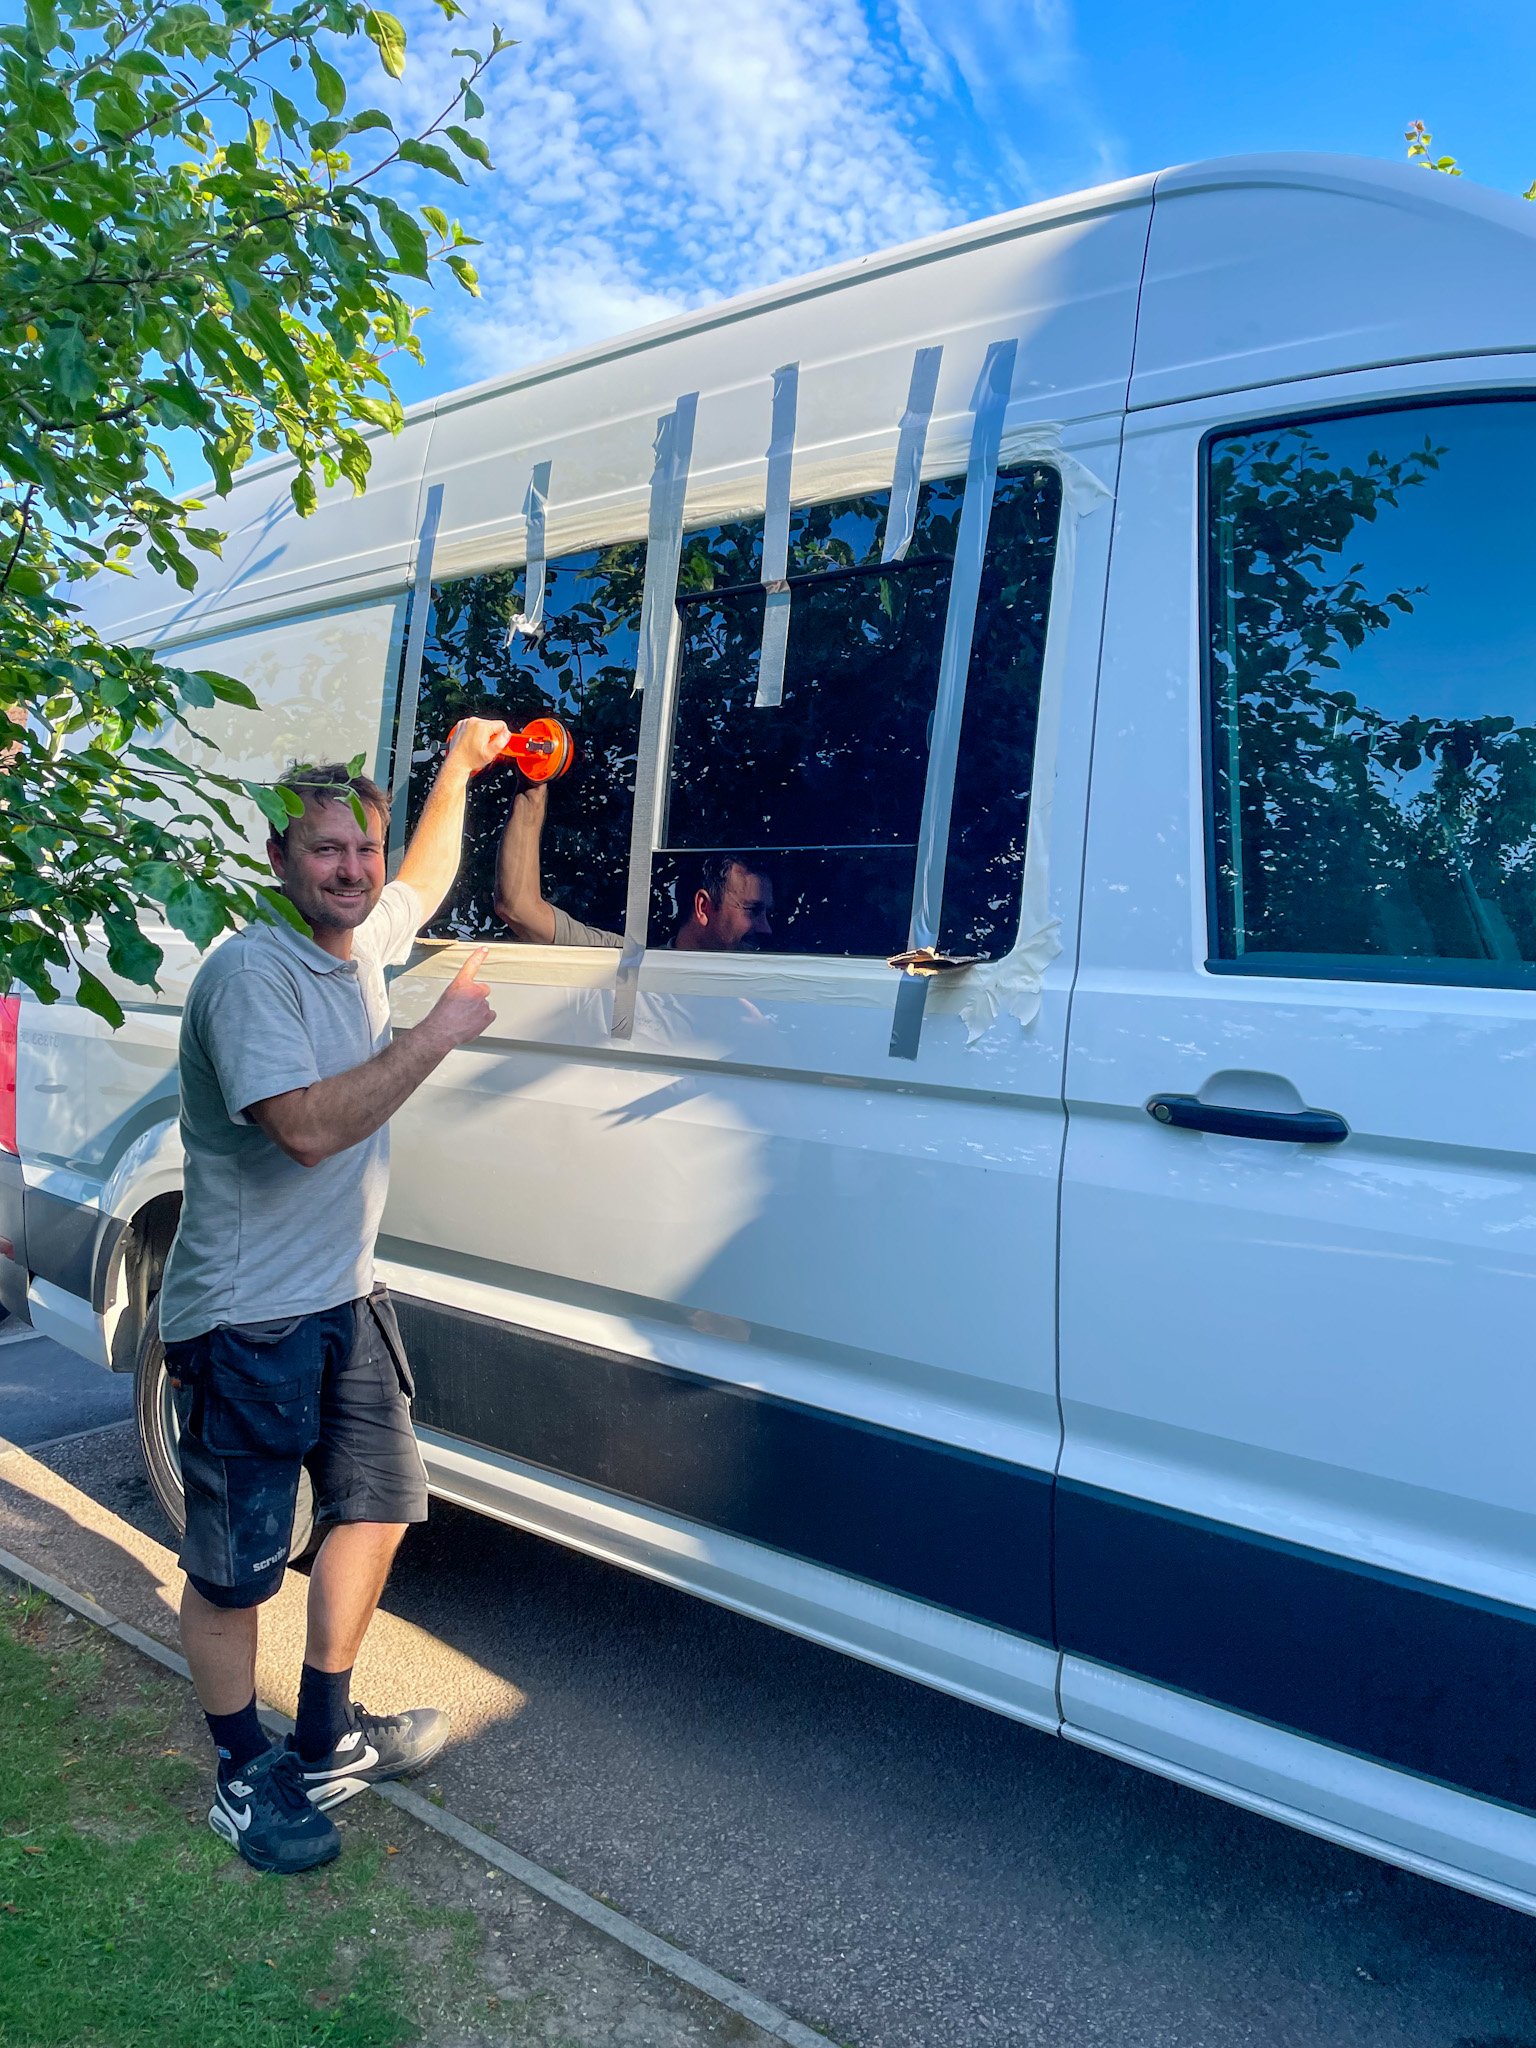
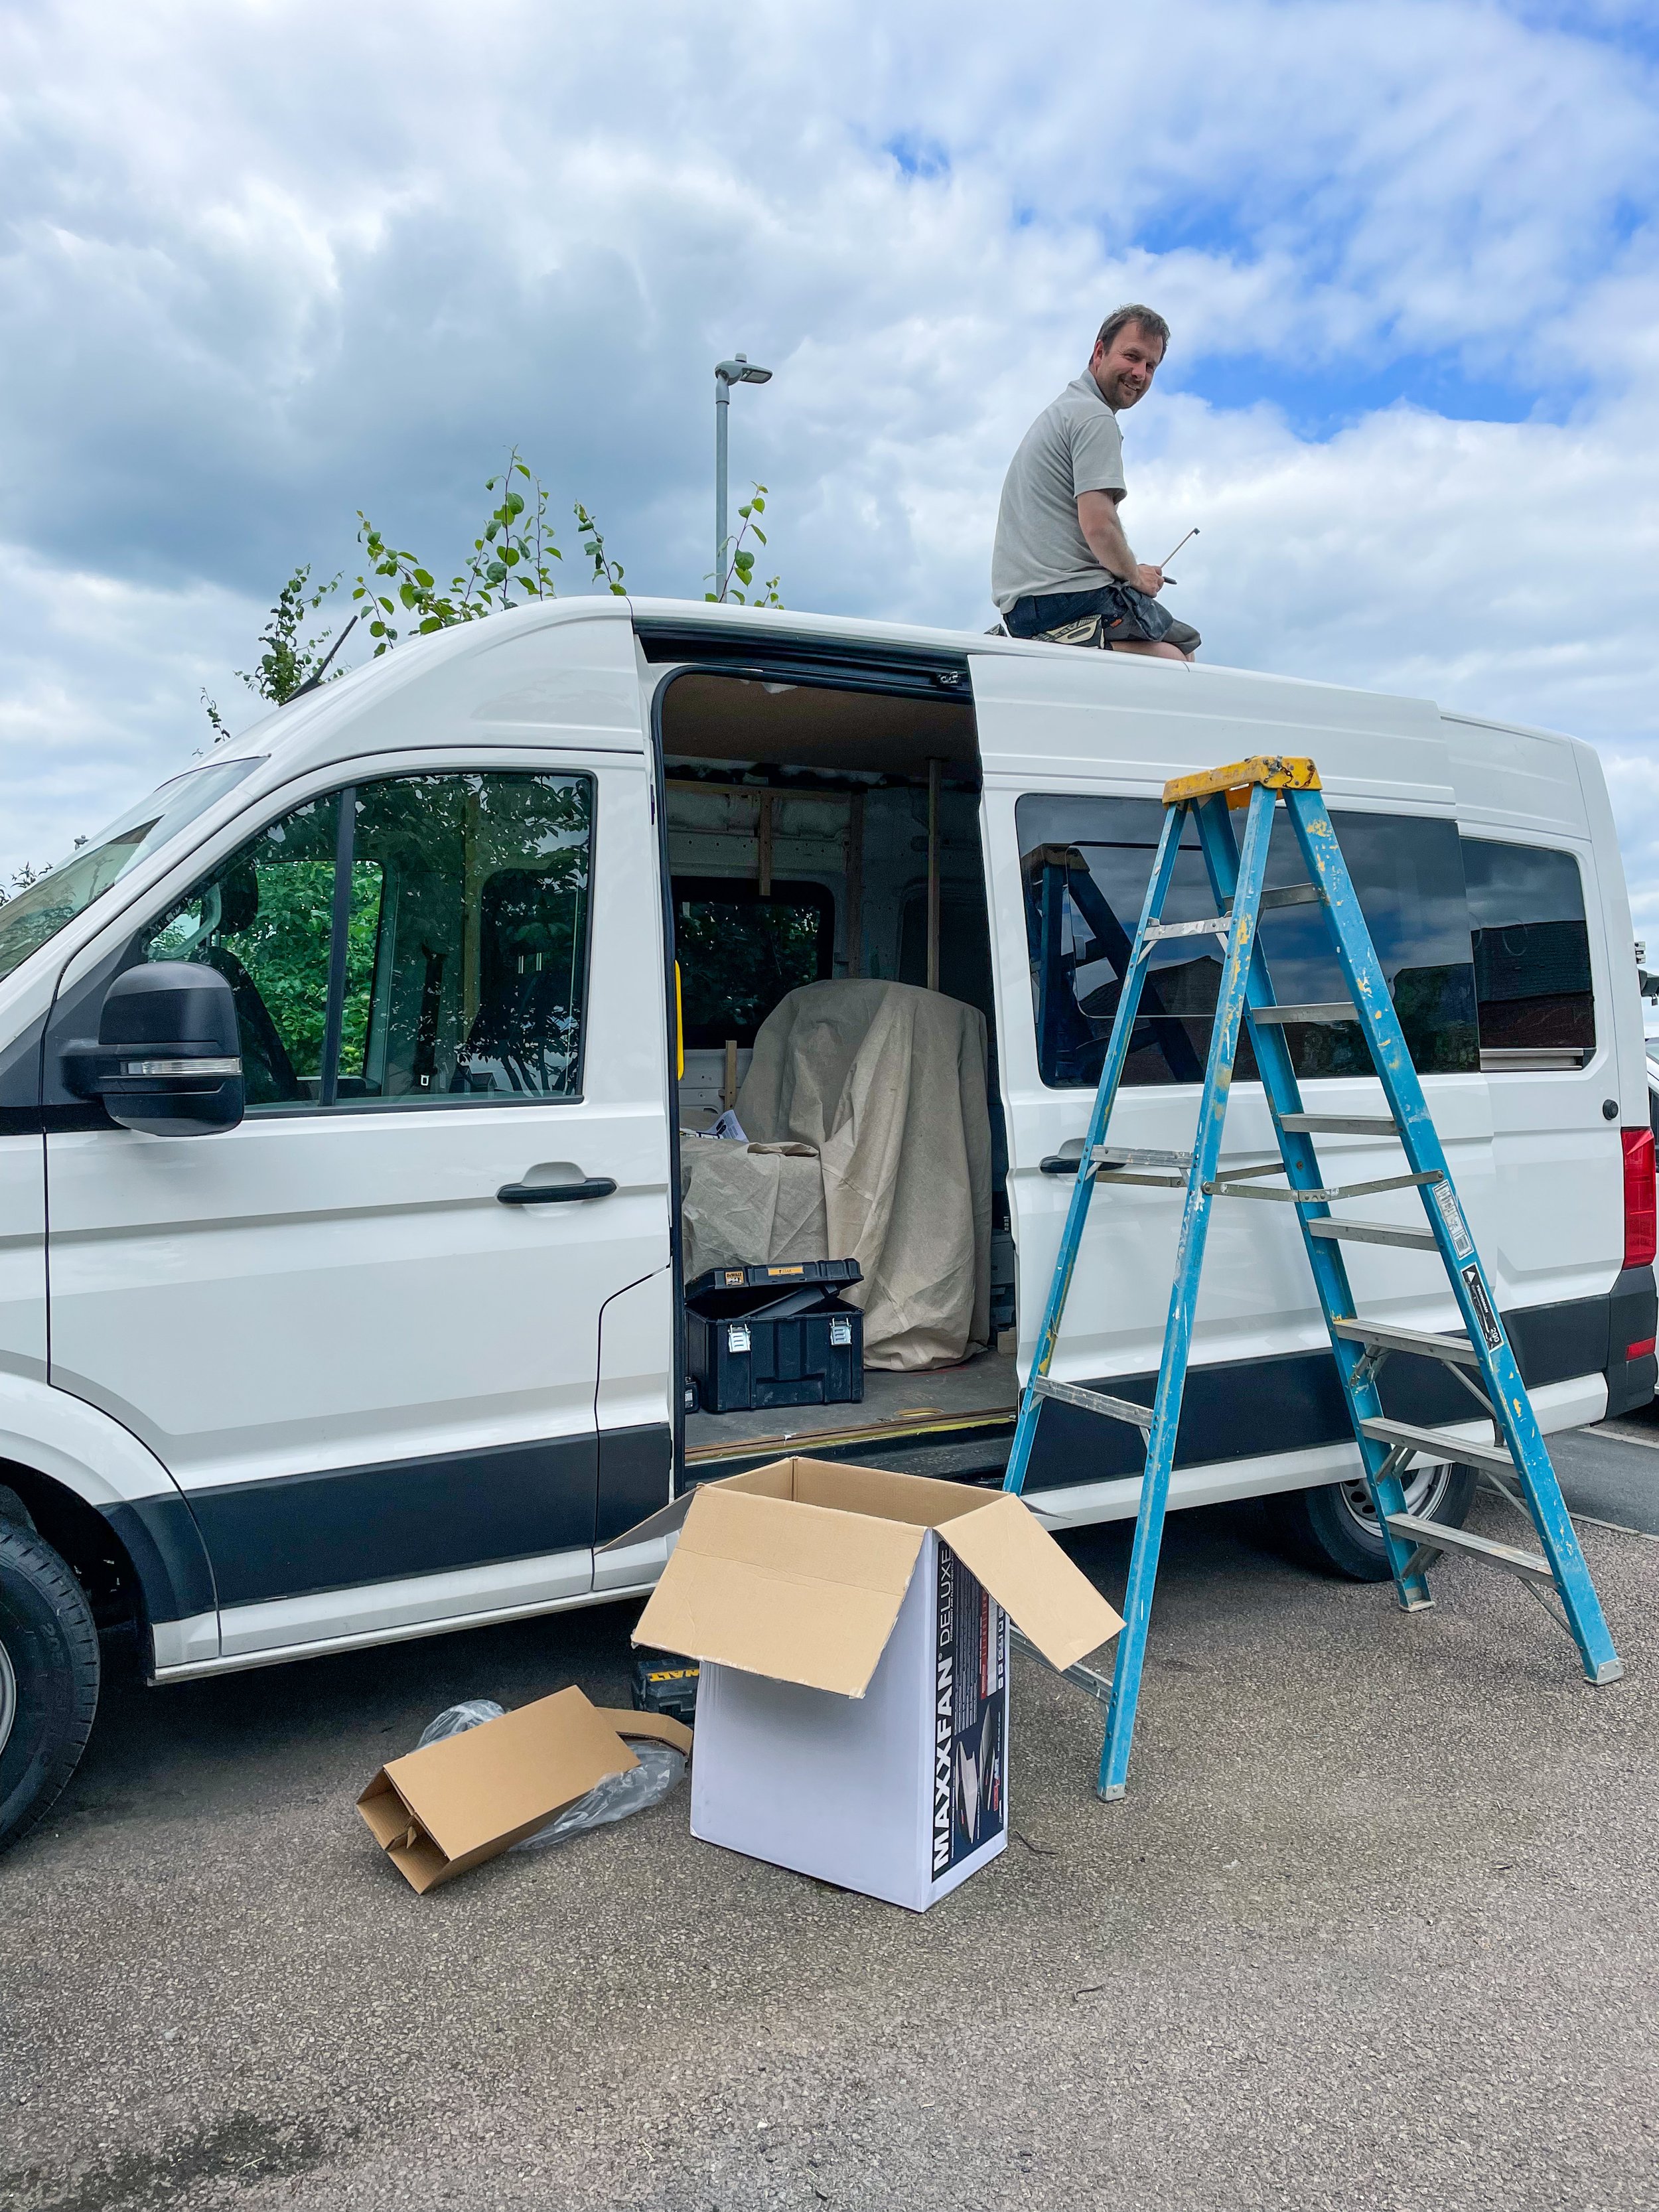
The windows were next. Initially we opted for just two windows on each side of the van. However, after spending some time in our T5 in Scotland recently, we realised just how much we love all the windows and the feeling like the outside is inside, even when the doors are closed - so we added another window to the rear passenger side. Cutting huge holes and fitting windows yourself might sound a bit scary, but it isn’t necessarily a job you should shy away from. Dan has never done anything of this scale before, so it takes some confidence, the correct tools and some research (which really means he watched loads of videos on You Tube - we joke about this). Being in the construction trade already meant that Dan already had the necessary tools for the job - this saved us quite a lot of money during those initial conversion costs. Please always ensure your safety by wearing eye and ear protection too! While I could create a series of step-by-step instructions for how to fit your van windows, there is a great blog post here by Campervan HQ and Dan found this You Tube video really useful too.
This is a list of where we bought the windows from:
Front Side Tinted Window Glass Dark Sliding
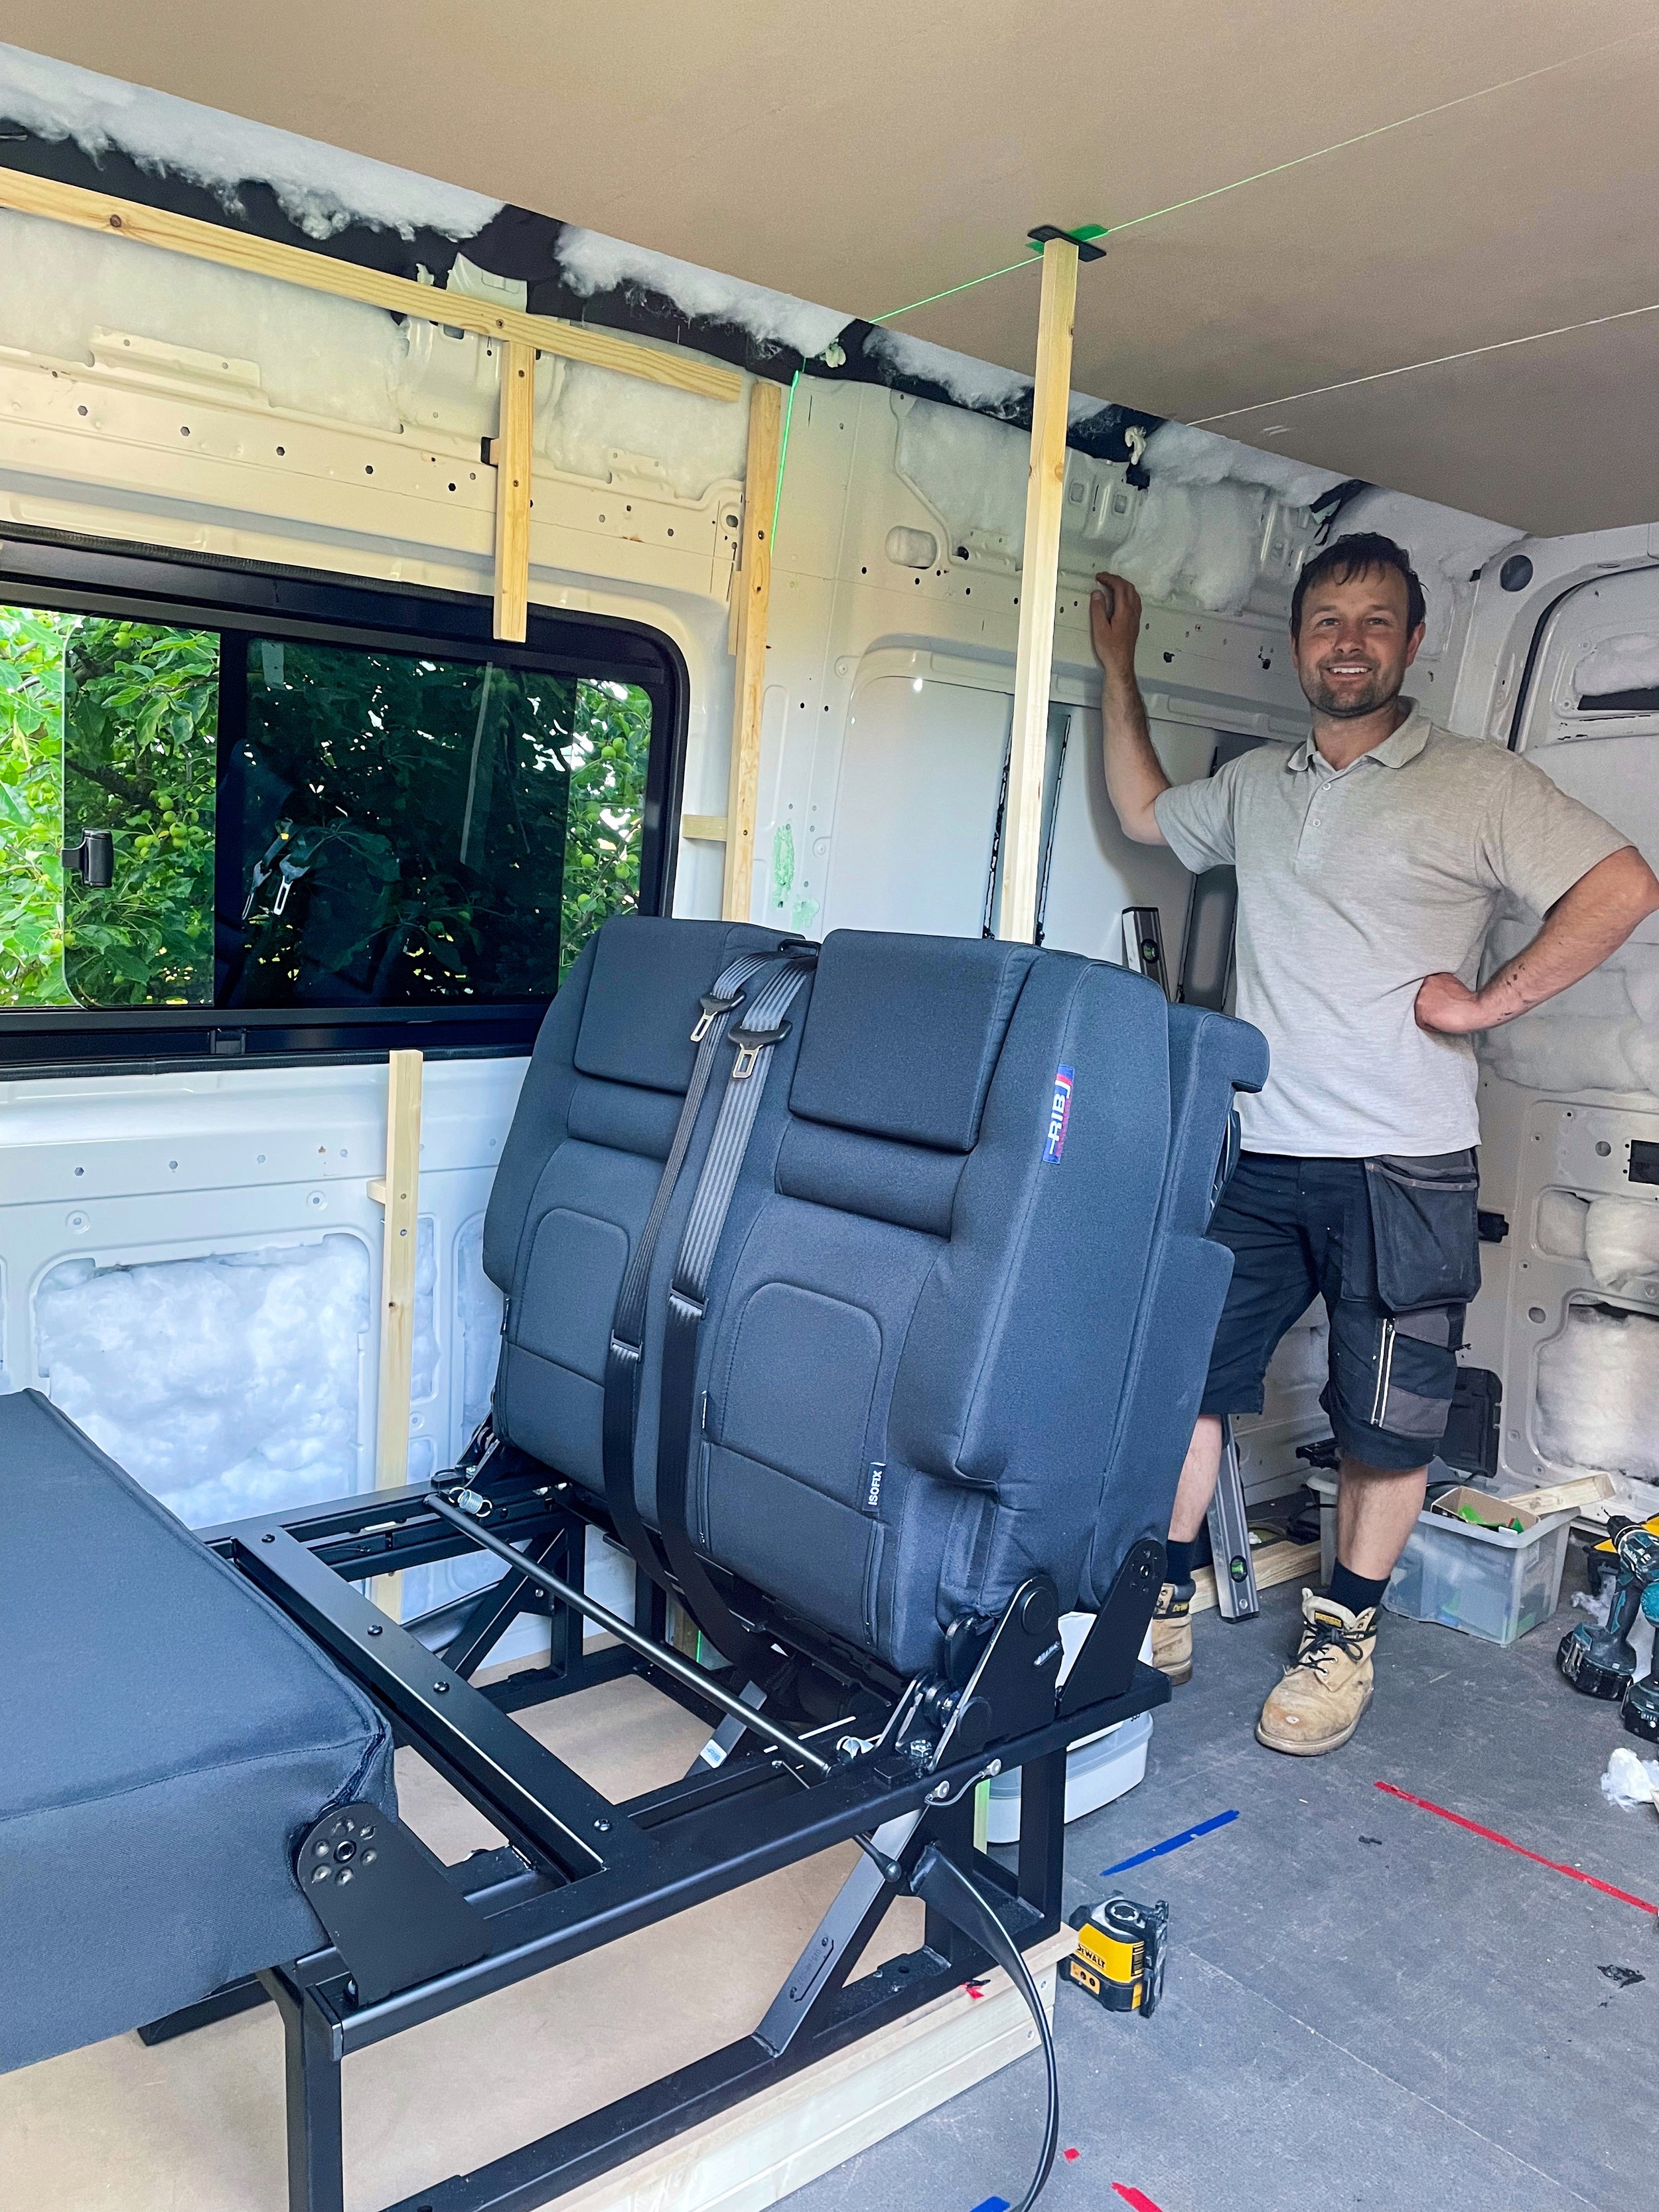
For us, an essential element of this build is to have two double beds within the main body of the van as our intention is to use it throughout the year, off-grid camping in potentially some pretty exposed spots. Dan and I are going to sleep across the width of the van, so to give us a little more space, we decided to install a flare - also sometimes called a ‘flare pod’ or ‘space pod’. We are really pleased with how this turned out.
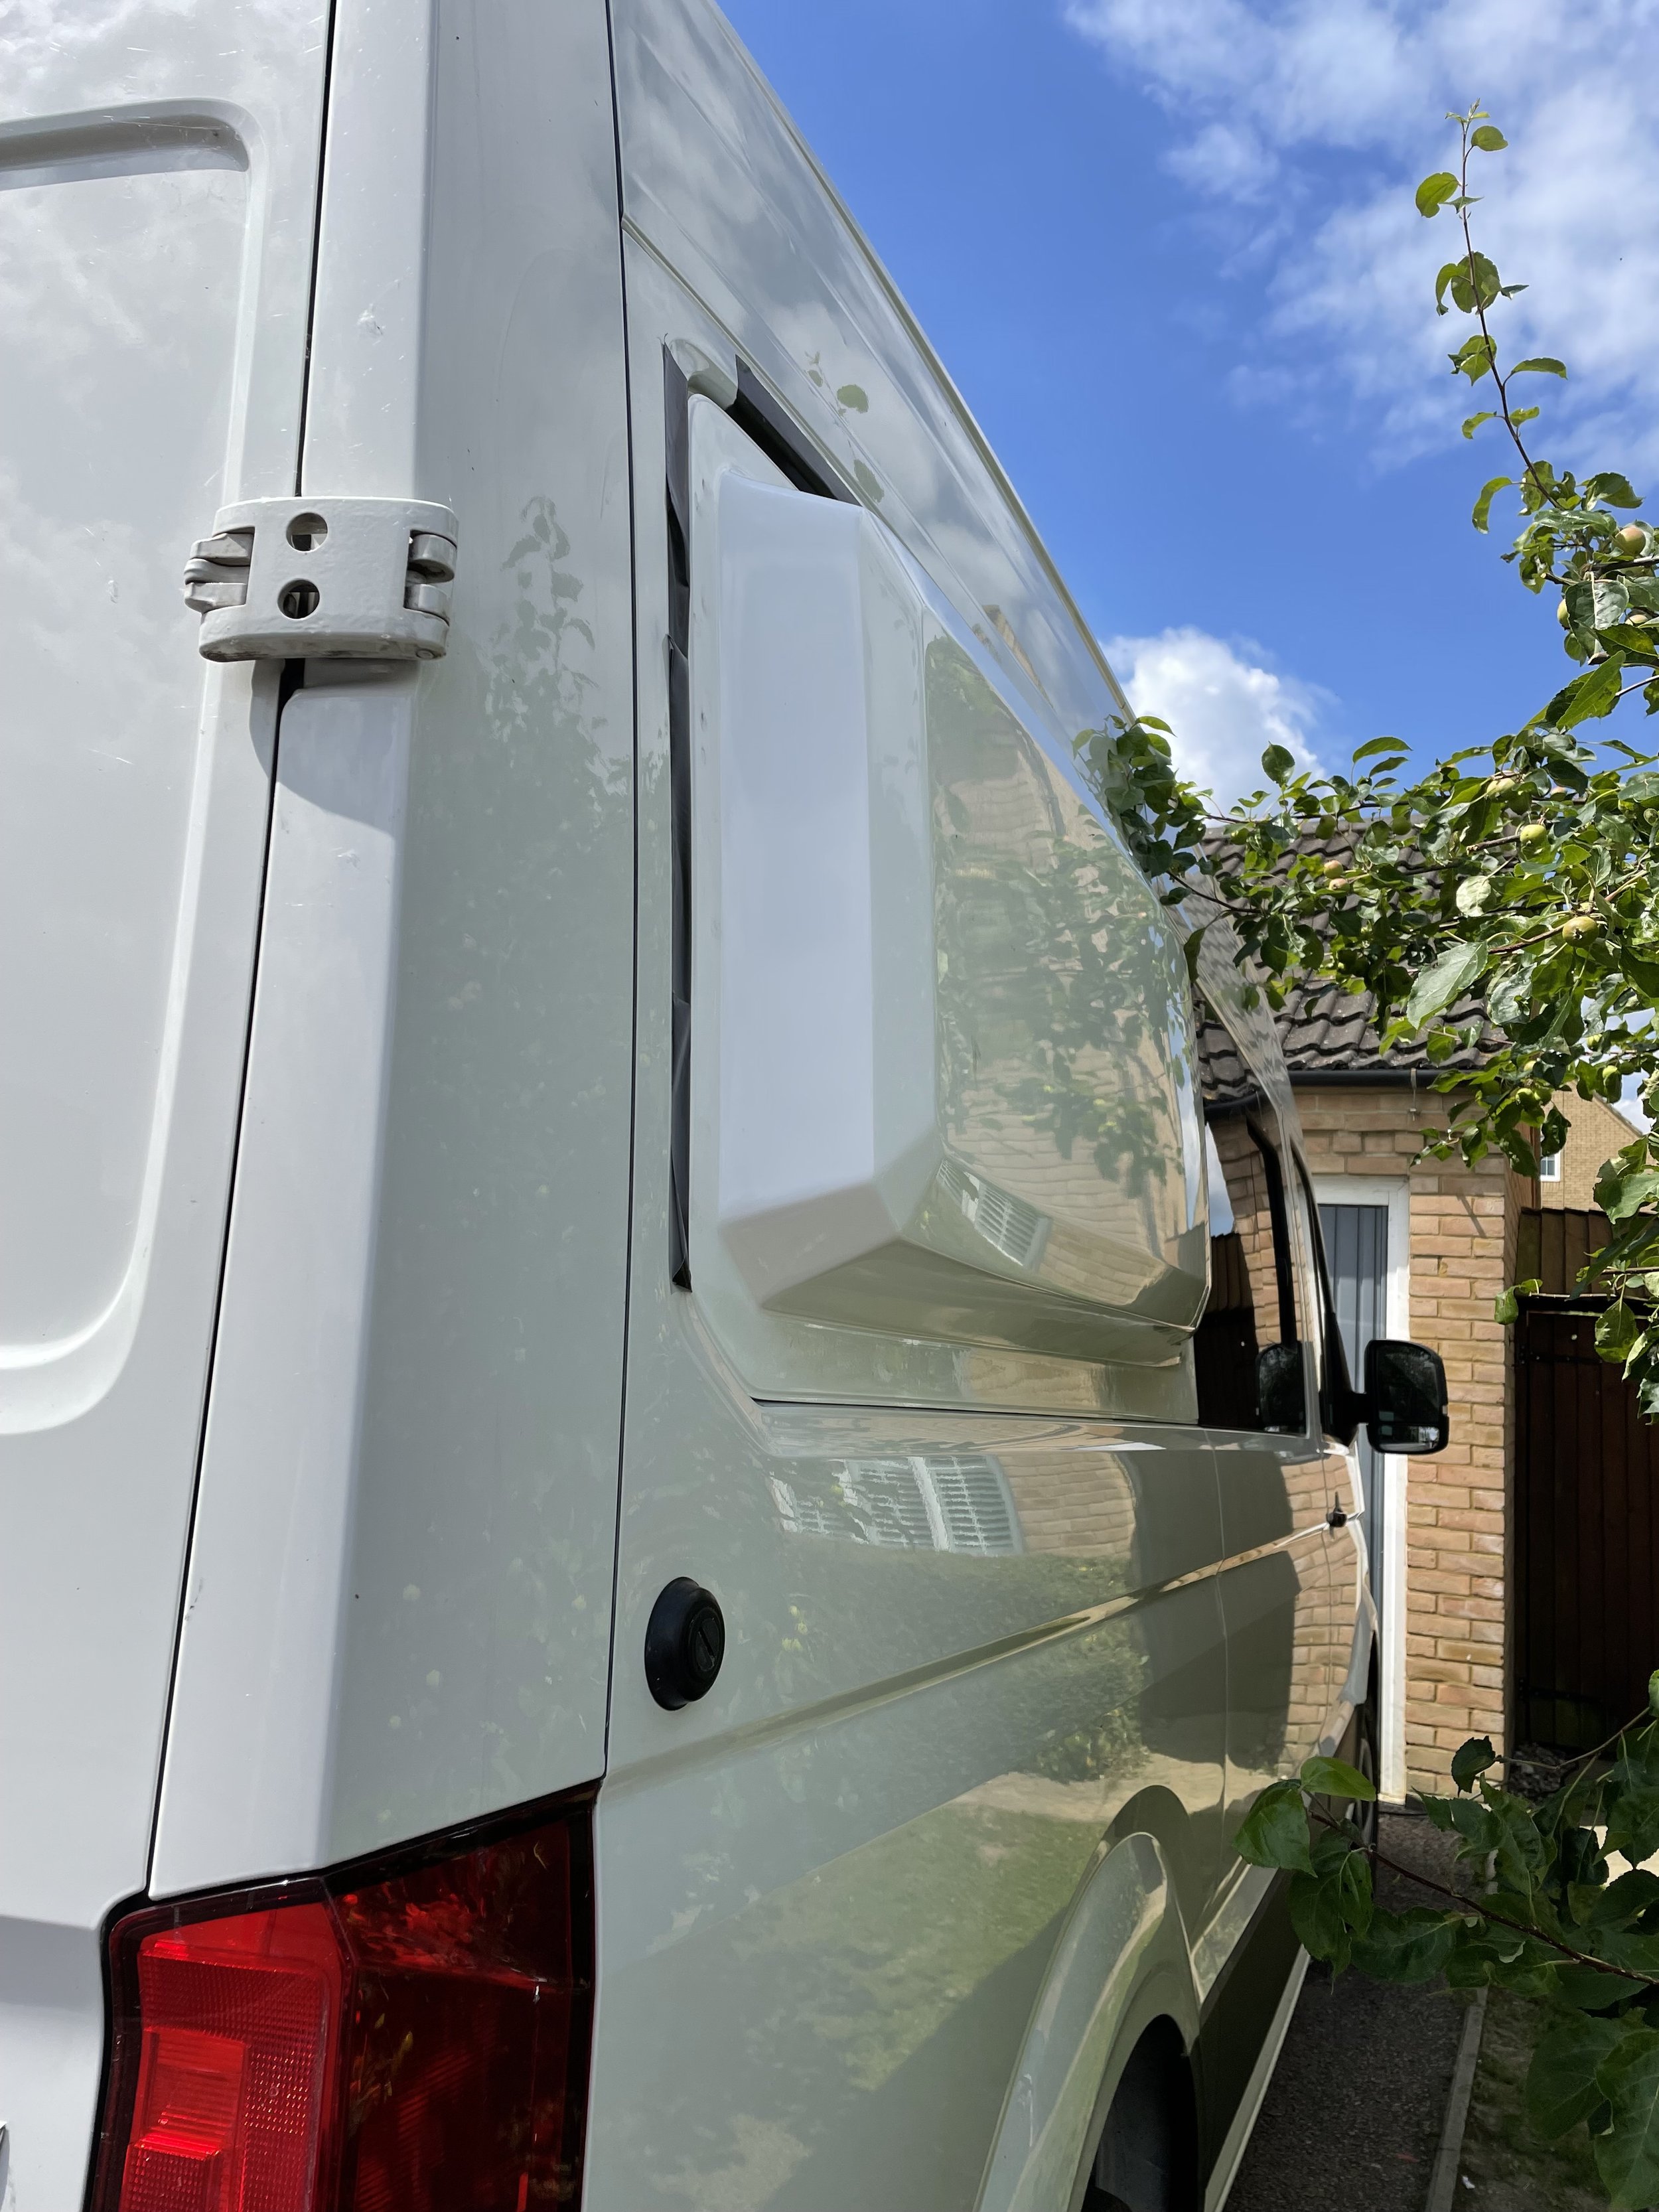
Drivers side space pod
The last big hole Dan made in the van was for the MaxxFan. We has initially priced this up at £334, but unfortunately didn’t realise that we’d also need to spend an extra £100+ on a black out blind. Oops! Although this was the hole Dan seemed most nervous about cutting, it was straight forward and we are really pleased with the fan already - we feel like we have made a really good choice.
MaxxFan Deluxe Remote Controlled Vent with Tinted Rain Cover
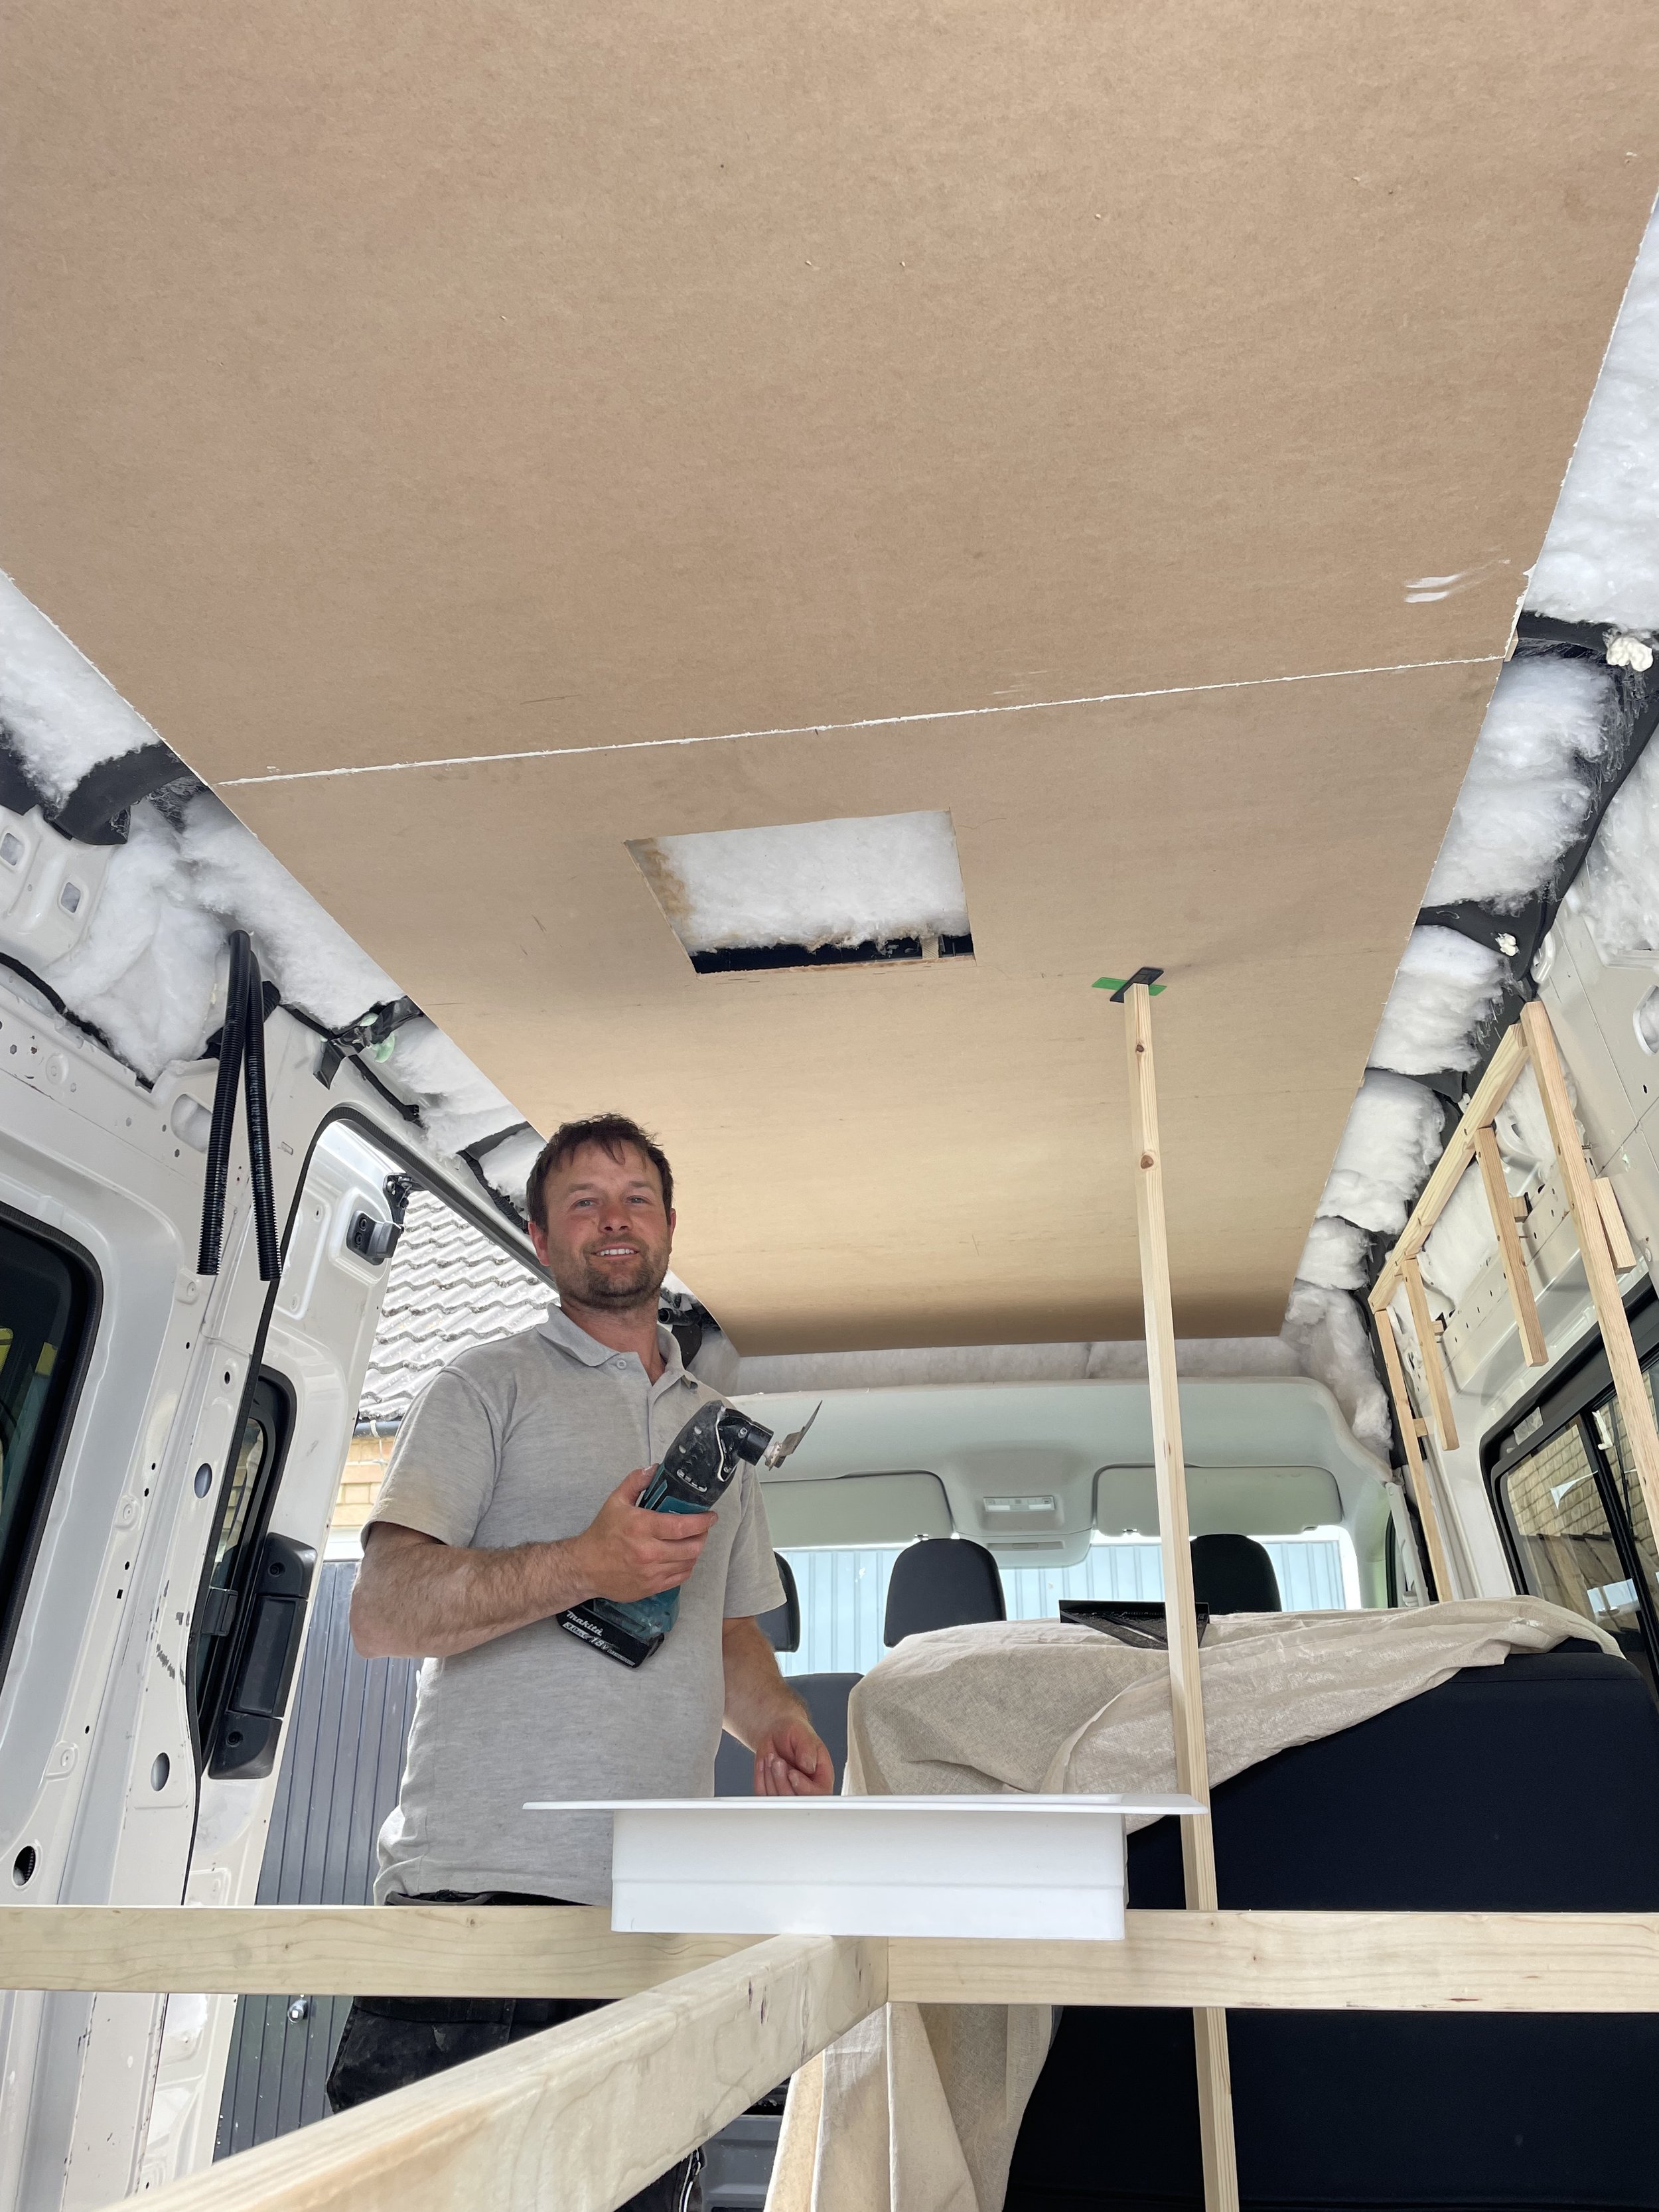
The exterior of the van has had some big changes over the last few weeks - it really does feel much more like a campervan now instead of just a van. Now all the holes have been made in the van, I can already see Dan starting to relax into the build. Space is always at a premium when living vanlife and good storage solutions are worth their weight in gold, but because our van is a MWB and only 1m longer than the T5, we are going to have to be especially clever with our space. This is one of the reasons we bought a much narrower RIB bed. The frame is fixed and will be bolted through the floor, but the seat can move forward and back in seat position by 20cm and also sideways slides 20cm, so we can give the girls some extra sleeping room at night without it intruding on the overall space during the day.
As the van continues to make progress, I will update you as soon as I can with what we’ve bought and from where again soon.